This article may contain affiliate links. If you make a purchase through these links, we may earn a small commission at no extra cost to you. This helps us keep creating free content.

How to Photograph the Northern Lights: Settings, Focus, and Gear
A camera collects light over time in a way your eyes cannot, which is why a modest aurora that looks like a faint grey smudge overhead can turn into a vivid green curtain on screen. You do not need a professional rig to capture it, you need manual control and the right settings. The recipe below works on almost any camera that lets you set exposure by hand, and even on recent phones with a night or pro mode.
Shoot in manual mode
Automatic modes are built for everyday scenes and will fight you in the dark. The camera meters the black sky, panics, and guesses wrong. Switch to full manual (M) so you control the three settings that matter, aperture, shutter speed, and ISO, independently. This is the single biggest step from disappointing snapshots to real aurora photos.
Open the aperture wide
Aperture controls how much light the lens lets in, measured in f-numbers where lower means wider. For the aurora you want the lens as wide open as it goes, typically f/2.8 or lower. A fast, wide-aperture lens gathers far more light in the same time, letting you keep exposures short enough to preserve the aurora's structure. If your lens only opens to f/4, you can still shoot; you will just lean harder on ISO and shutter speed to compensate.
Push the ISO
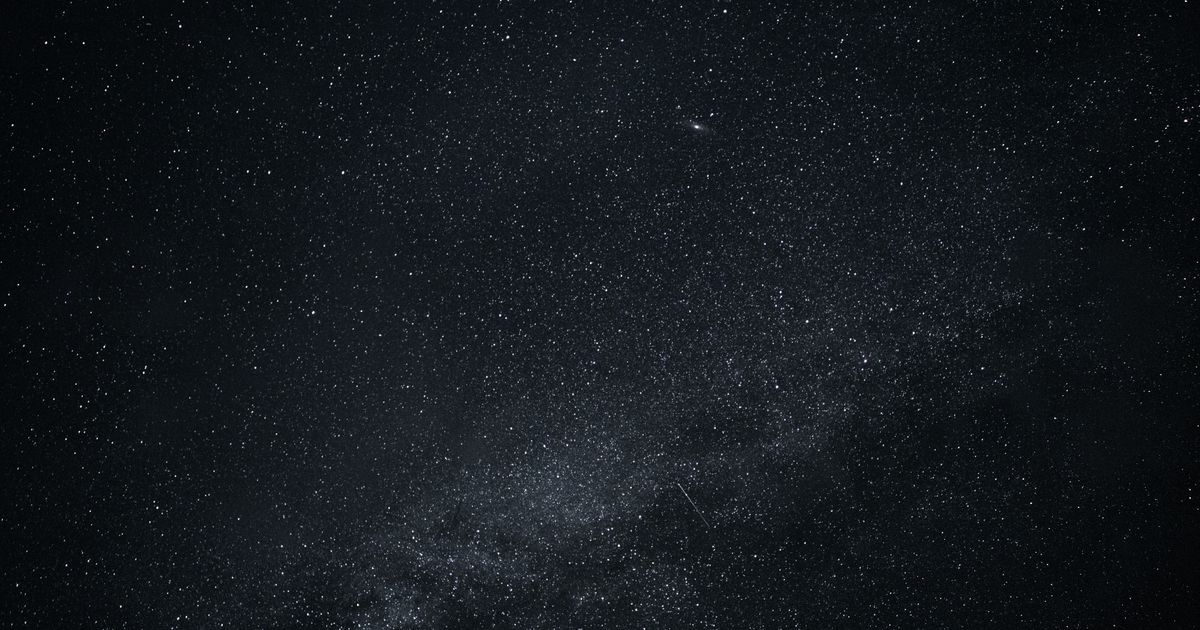
ISO sets the sensor's sensitivity. In near-total darkness you need it high, a starting range of ISO 1600 to 3200 suits most cameras, and you can go higher on a fast-moving, faint display. Higher ISO introduces grain (noise), so it is a balance: enough to expose the scene, not so much that the image turns mushy. Take a test shot, check the brightness, and adjust up or down from there.
Set a long exposure: but not too long
Shutter speed decides how long the sensor drinks in light. For the aurora, somewhere between 2 and 15 seconds covers most situations. The trick is matching the exposure to how the aurora is moving. When it hangs quietly overhead, a longer exposure of 10–15 seconds builds up rich color. When it dances and shifts fast, drop to 2–5 seconds or the movement smears into a flat green blur and you lose those beautiful rippling curtains.
One more limit: stars. Because Earth rotates, exposures longer than roughly 15–20 seconds on a wide lens start turning pinpoint stars into short trails. If you want crisp stars alongside the aurora, keep the shutter in that shorter range.

Focus manually on a star
Autofocus hunts helplessly in the dark and is the number-one reason beginner aurora shots come out soft. Switch the lens to manual focus. Point at the brightest star or a distant light, turn on your camera's live-view magnification, and rotate the focus ring until that point of light is as small and sharp as it gets, that is infinity focus. Then leave it alone. Tape the ring if you tend to bump it. Nail this once and every frame of the night is sharp.
| Setting | Starting point | Adjust when… |
|---|---|---|
| Mode | Manual (M) | Always |
| Aperture | f/2.8 or wider | Use the widest your lens allows |
| ISO | 1600–3200 | Raise if too dark, lower if too grainy |
| Shutter | 2–15 s | Shorter for fast aurora, longer for calm |
| Focus | Manual, on a star | Set once, then lock it |
The gear that actually helps
You can skip most of the shopping lists online. A handful of categories genuinely change your results:
- A sturdy tripod, non-negotiable. Multi-second exposures are impossible to hold by hand; the tripod is what makes the whole thing work.
- A fast, wide lens, a wide-angle with a low f-number captures more sky and more light, the two things aurora photography lives on.
- Spare batteries, cold drains batteries fast, sometimes alarmingly so. Carry two or three and keep the spares in an inside pocket close to your body heat.
- A remote or self-timer, pressing the shutter by hand nudges the camera; a cable release, phone app, or the 2-second timer avoids that tiny shake.
- A red-light headlamp, lets you adjust settings without wrecking your night vision or ruining someone else's shot.
The take
Manual mode, aperture wide open, ISO around 1600–3200, a 2–15 second exposure matched to the aurora's speed, and manual focus locked on a star, that is the whole recipe. Add a tripod and spare batteries and you are ready. Before you travel, check whether the lights are likely at all with our aurora forecast tool, and time your trip using the best time to see the northern lights. It all comes together during this last strong aurora season.

Sources: general astrophotography and NOAA Space Weather Prediction Center references. As of 2026, without guarantee, adjust settings to your own camera and conditions.
Published by the Visit Astronomy editorial team. Published August 26, 2026.
Editorial responsibility: see Imprint.
Spotted an error or have something to add? corrections@visitastronomy.com
You might also like

Explore more
All articles on Visit Astronomy →
The Night Sky, Delivered
New guides, celestial events, and astrophotography tips — every week in your inbox.
🎁 Free bonus: Beginner Stargazing Checklist (PDF)