This article may contain affiliate links. If you make a purchase through these links, we may earn a small commission at no extra cost to you. This helps us keep creating free content.

Winter Stargazing: Tips for Cold Weather Observers
Lithium battery packs lose 20 to 30 percent of their usable capacity near freezing, and that number gets worse the longer the temperature stays below zero. If you have ever watched a fully charged mount battery die halfway through a session, the cold is almost always the reason, not a bad cell.
Winter has a reputation as the best season for deep sky work, and the physics backs that up. Cold air holds less moisture, and drier air scatters less starlight, so contrast on faint nebulae and galaxies genuinely improves. The trade-off is that the same cold that sharpens the view also drains your gear, fogs your optics, and makes standing still for an hour miserable unless you plan for it.
Why the Air Gets Steadier in Winter
Atmospheric turbulence, the thing astronomers call "seeing," comes mostly from temperature gradients between layers of air. In summer, warm ground releases heat into cooler night air for hours after sunset, creating shimmering currents that blur planetary detail. In winter, the ground and the air above it cool down together more evenly once the sun sets, which often produces calmer, steadier seeing, especially on clear nights with light wind.
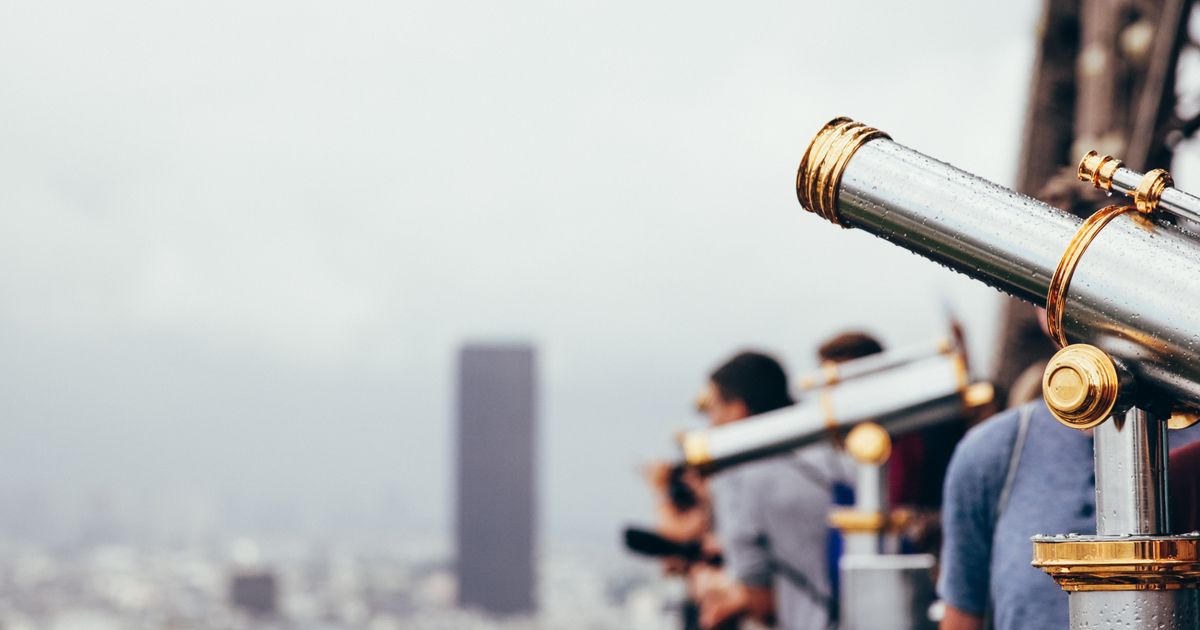
The catch is that winter jet stream activity is stronger in many regions, and a fast high-altitude jet can wreck seeing even on a night that looks perfectly clear from the ground. Checking a jet stream forecast, not just a cloud forecast, before you commit to a session pays off more in winter than in any other season.
Battery Care in the Cold
Lithium-ion and lithium iron phosphate (LiFePO4) batteries both suffer in the cold, but for a chemical reason worth understanding: the electrolyte inside the cell thickens as temperature drops, which slows the movement of ions between the electrodes and raises internal resistance. A cell that delivers 100 percent of its rated capacity at 25 degrees Celsius can drop to roughly 50 percent of that capacity at minus 18 degrees Celsius.
Practical steps that make a real difference: keep the battery pack in an inner jacket pocket rather than on the tripod leg, use a battery with a higher rated capacity than you think you need so the effective cold-weather capacity still covers the session, and pack a compact hand warmer taped to the battery housing for long imaging runs. Mount motors, dew heaters, and cooled cameras all draw more current when components are cold, which compounds the capacity loss.
Letting Your Telescope Reach Thermal Equilibrium
A telescope brought straight from a warm house into freezing air needs time before it delivers sharp images. The mirror, tube, and corrector plate all contract at different rates as they cool, and until they stabilize, rising heat currents inside the tube distort the light path. This effect, called tube currents, shows up as a soft, boiling image at high magnification.
| Telescope Type | Typical Cooldown Time |
|---|---|
| Small refractor (under 100mm) | 15 to 20 minutes |
| 6 to 8 inch Newtonian / Dobsonian | 45 to 60 minutes |
| 10 to 12 inch Dobsonian | 60 to 90 minutes |
| Large Schmidt-Cassegrain (8 inch+) | 45 to 75 minutes |
Set the telescope outside, still in its case or under a cover, at least an hour before you plan to observe. Some Dobsonian owners add a small cooling fan behind the primary mirror, which cuts equilibrium time roughly in half by actively pulling warm air away from the glass instead of waiting for passive convection.
Dew, Frost, and Fogged Optics
Dew forms when a surface cools below the dew point of the surrounding air, and optical glass radiates heat into a clear night sky efficiently, which is exactly why eyepieces and corrector plates fog up even when the air around them feels merely cool, not wet. In winter this often shows up as frost instead of liquid dew, which is harder to clear without scratching the coating.
For nights when a passive shield is not enough, a resistive dew heater strip wrapped around the optical tube near the front element keeps the glass a few degrees above ambient, which is usually enough to stay above the dew point. Never use a cloth to wipe frost off a lens. Warm breath and rough wiping both push moisture and grit across the coating. Use a soft blower first, then a lens pen if residue remains.
Dressing for a Stationary Activity in Freezing Temperatures
Stargazing is a low-movement activity, which matters because the body generates most of its warmth through muscle activity. Standing at an eyepiece for an hour in freezing air is closer, physiologically, to sitting still outside than to hiking or shoveling snow, so the layering that works for winter sports often falls short here.
- Feet first: Insulated, waterproof boots with a wool or synthetic liner sock. Cold feet end sessions faster than any other single factor.
- Base layer: A moisture-wicking synthetic or merino layer, never cotton, which holds sweat against the skin and accelerates heat loss.
- Insulating layer: Down or synthetic-fill jacket rated well below the forecast low, since you will be standing still, not generating heat through movement.
- Hands: Thin liner gloves for fine focuser adjustments under a pair of insulated mittens you can pull off quickly.
- Head: A significant share of heat loss happens through the scalp and neck; a fleece-lined hat plus a neck gaiter closes that gap.
A simple insulated pad to stand on, even a piece of closed-cell foam, breaks the conductive heat loss into frozen ground, which otherwise pulls warmth out through boot soles faster than the air temperature alone would suggest.
Setting Realistic Session Lengths
Cold tolerance varies by person, but most first-time winter observers underestimate how fast comfort degrades once core temperature starts to drop, and by the time you feel genuinely cold, your fine motor control for focusing and star-hopping has already declined. Planning two shorter sessions with a warm-up break indoors between them usually produces more useful observing time than one long session that ends in shivering and rushed teardown.

Bring a thermos of a warm, non-alcoholic drink. Alcohol dilates blood vessels near the skin, which creates a brief feeling of warmth followed by faster core heat loss, the opposite of what you want during a long stand in freezing air.
What to Target on Clear Winter Nights
Winter skies in the northern hemisphere carry Orion, Taurus, and Gemini across the meridian, bringing the Orion Nebula, the Pleiades, and a dense run of bright stars into good position right after dark, so you rarely need to stay out past midnight to catch prime targets. That earlier prime-time window is one more reason winter sessions can be shorter without sacrificing quality: you are often done with your main targets within two hours of full darkness.
Track your seeing and transparency notes alongside temperature and humidity on each outing. Over a season, that log tells you more about your own gear's cold-weather limits than any general guide can, because cooldown time, dew formation, and battery drain all depend on your specific telescope and mount.
Snow Cover and Reflected Light
Fresh snow reflects a surprising amount of ambient light back into the sky, brightening the local sky background and reducing contrast on faint deep sky objects even from an otherwise dark rural site. This effect is strongest right after a fresh snowfall and diminishes somewhat as snow ages, compacts, and picks up dirt, but it is worth factoring into a winter session plan, particularly for anyone specifically chasing faint galaxies or nebulae rather than the brighter Moon and planets.
Equipment That Needs Extra Cold-Weather Attention
- Focusers and moving parts: Grease in focuser mechanisms and altitude bearings can stiffen noticeably in freezing temperatures, making fine focus adjustments feel sticky or uneven; a light cold-rated lubricant applied before winter season starts helps.
- Electronic hand controllers and go-to mounts: LCD screens can respond sluggishly in deep cold, and some models specify a minimum operating temperature; checking your mount's documented cold-weather rating before a planned session avoids a dead controller ruining the night.
- Eyepiece eye cups: Rubber eye cups can stiffen and crack over repeated cold exposure; folding them down gently rather than forcing them reduces wear during winter storage between sessions.
Published by the Visit Astronomy editorial team. Published July 14, 2026.
Editorial responsibility: see Imprint.
Spotted an error or have something to add? corrections@visitastronomy.com
You might also like

Your Weekly Stargazing Plan for Spring
Learn about weekly, stargazing, plan, spring in this comprehensive weekly-plan.

Using Binoculars for Astronomy: What You Need to Know
Learn about binoculars, astronomy, stargazing, celestial in this comprehensive guide.
Best Stargazing Apps Compared
Learn about stargazing, apps, stellarium, sky in this comprehensive comparison.
Explore more
All articles on Visit Astronomy →
The Night Sky, Delivered
New guides, celestial events, and astrophotography tips — every week in your inbox.
🎁 Free bonus: Beginner Stargazing Checklist (PDF)